Get started with Python and GeoPandas in 3 minutes
Looking to get started with geospatial Python and GeoPandas! Below you can find the step-by-step instructions to go along with the following video to get you up and running with GeoPandas in no time at all.
First, open Google Colab

First, head over to Google Colab and get started by creating a new notebook. Google Colab is a free service from Google that provides a hosted notebook interface for Python that has some libraries pre-installed. It is one of the fastest ways to get started with Python in a notebook interface!
Install and Import GeoPandas
In the first cell of the notebook, you can install GeoPandas using pip. Normally, you would use pip on the machine or server where you have Python installed, but in the notebook, you can install it in a normal cell using this command:
pip install geopandasNext, you can import the library and give it a shorthand name in the next cell:
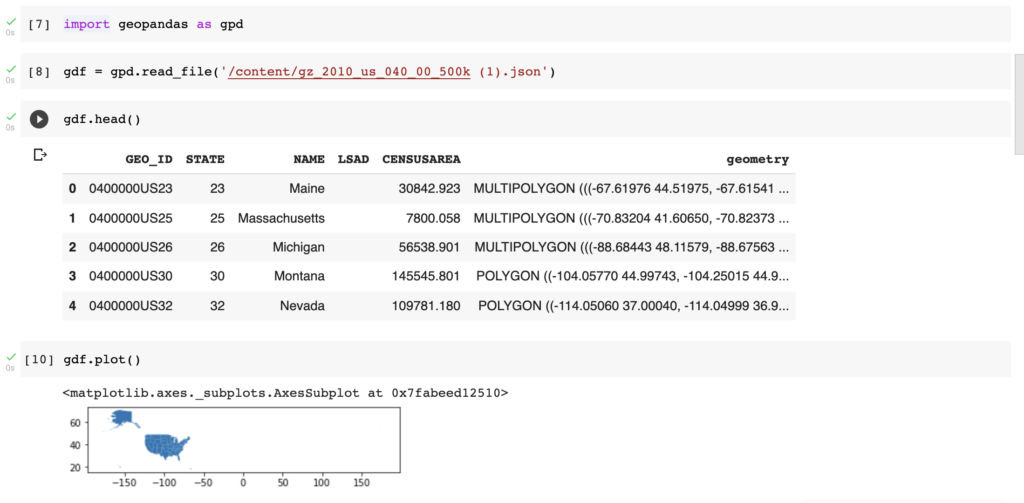
import geopandas as gpdRead a file and plot the map
Next, you can download some data (the data I used in the video can be found here) and read the file using the read_file() command. You can then plot a very simple map using the plot() function. This is a super simple map with no frills, but after this, you have just installed and started using GeoPandas!
Filter the data and make a map
If you are following along in the video, I show a few different techniques for filtering your data by filtering rows as well as using the isin() function from Pandas. You can check out the Pandas Cheat Sheet and the Pandas Cookbook for more details, in addition to the Pandas docs.
I also created a small buffer around the state of Rhode Island which you can find more information on in the GeoPandas docs.
Try it yourself!
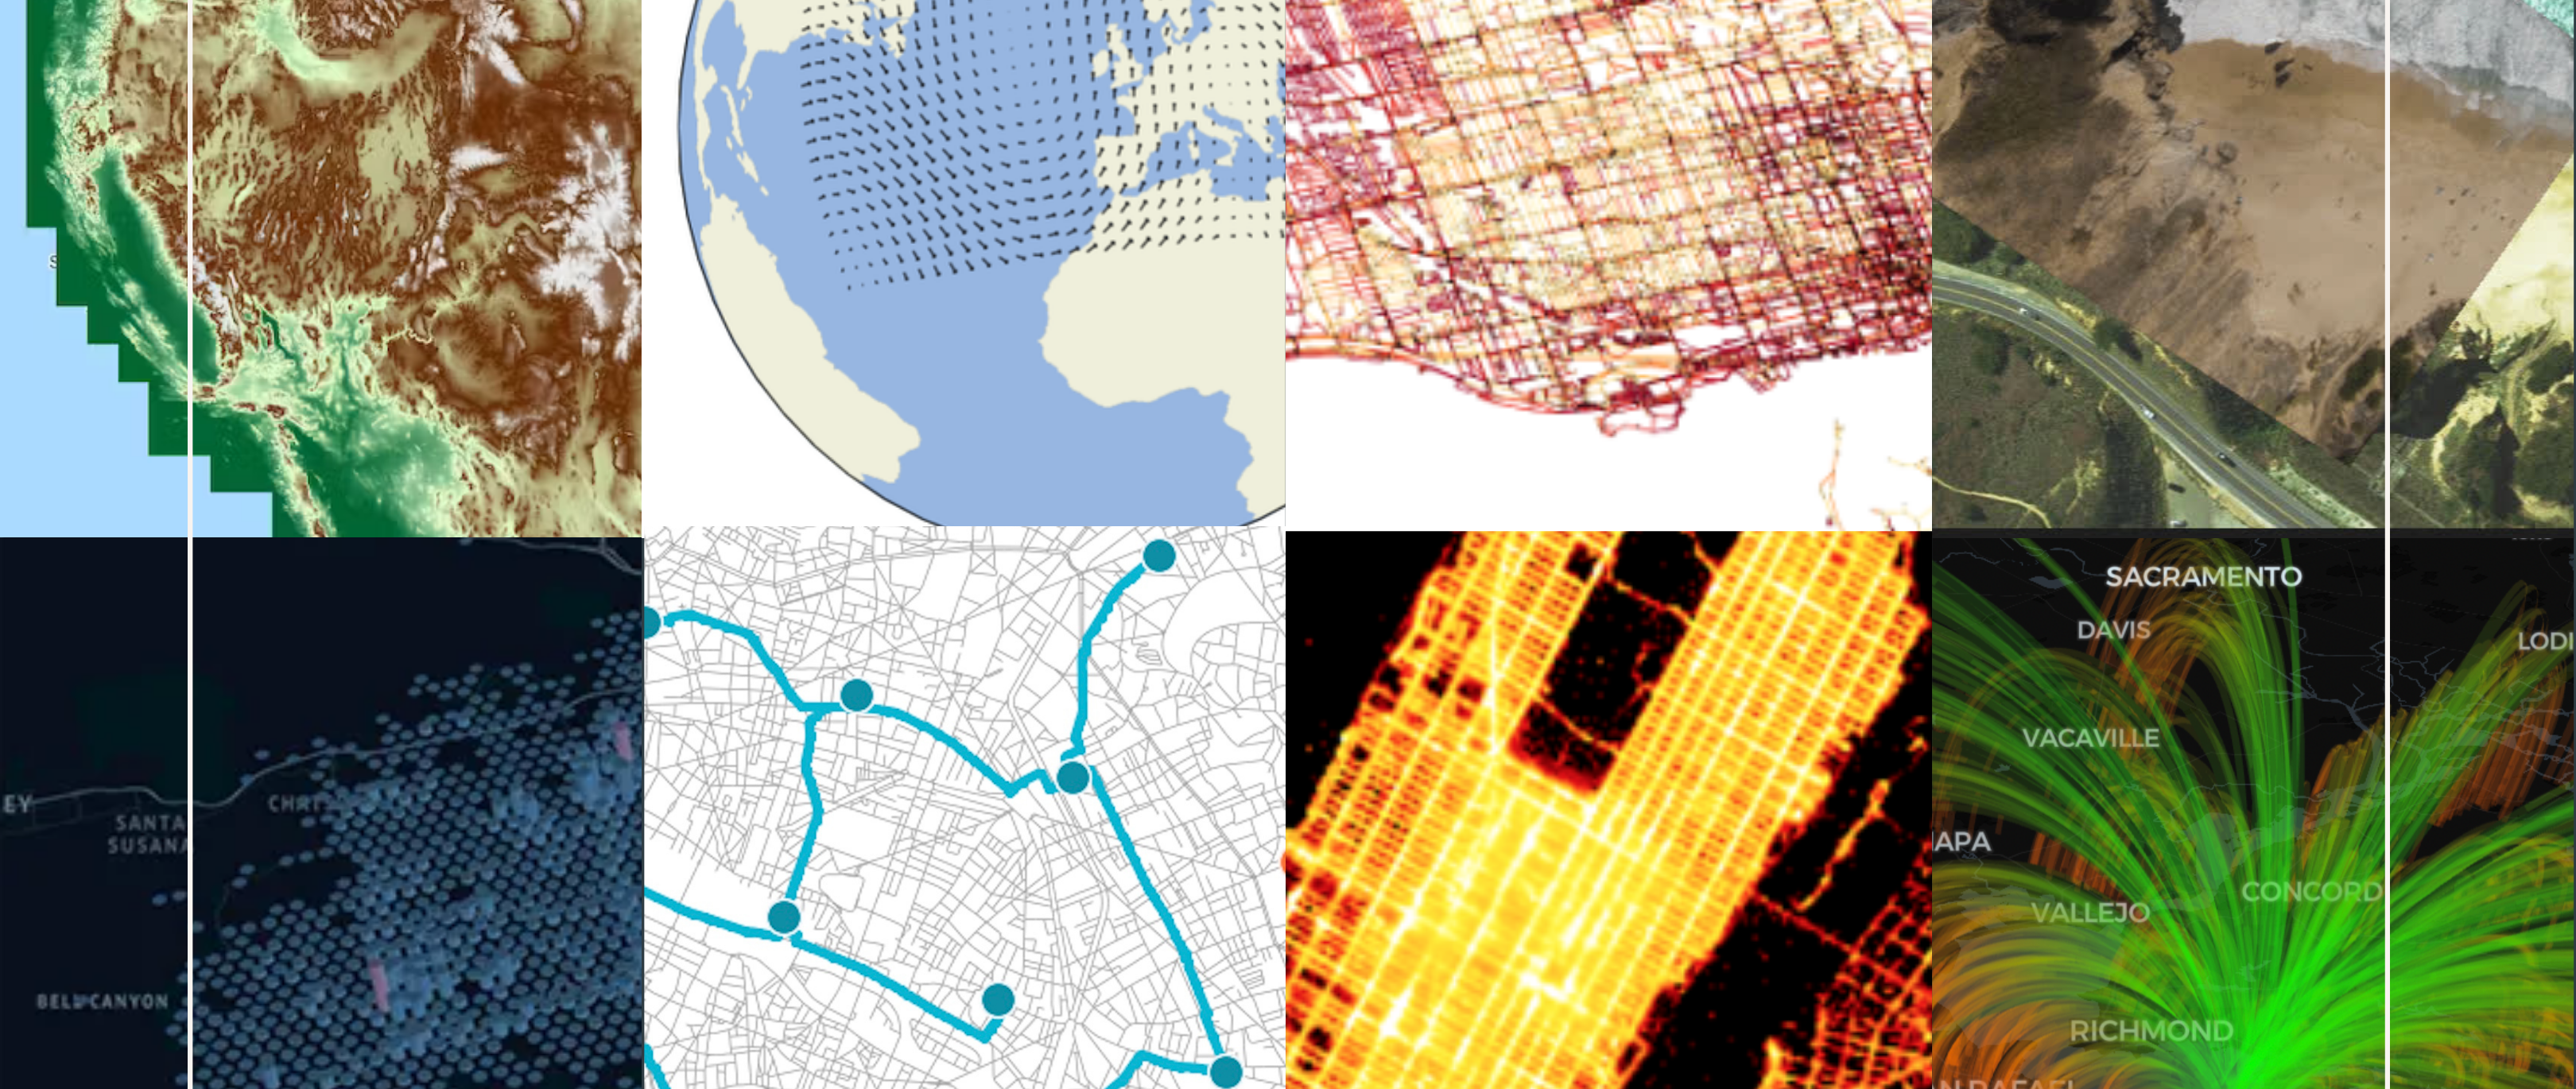
Next, test out some of the guides from the GeoPandas User Guide, Getting Started, and Examples Gallery! You can also check out some other geospatial Python resources in my guide below.